Dessert
-
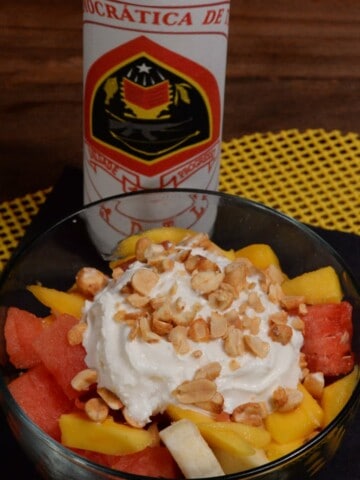
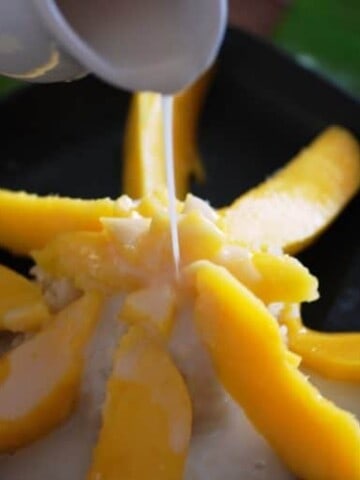
East Timor Rujak (Fruit Salad)
-
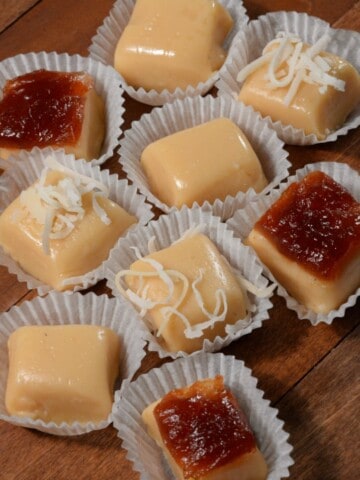
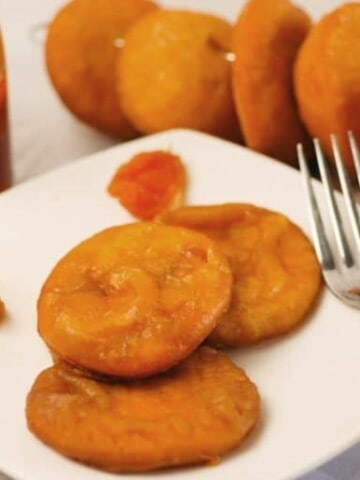
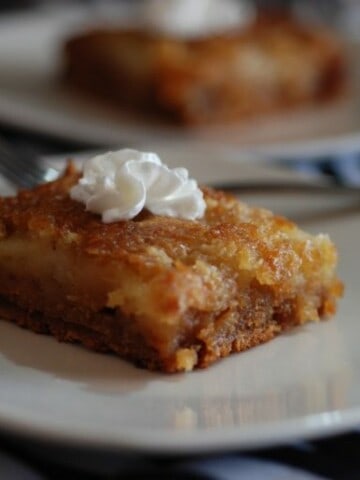
Dominican Republic Dulce De Leche Squares
-
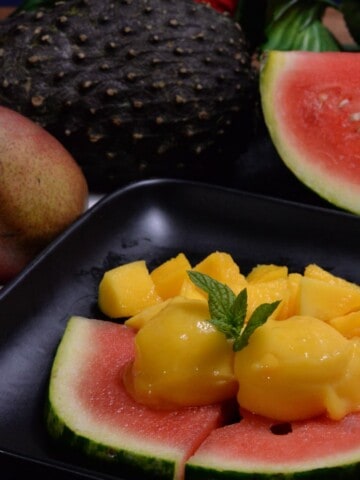
Dominica Mango Sorbet
-
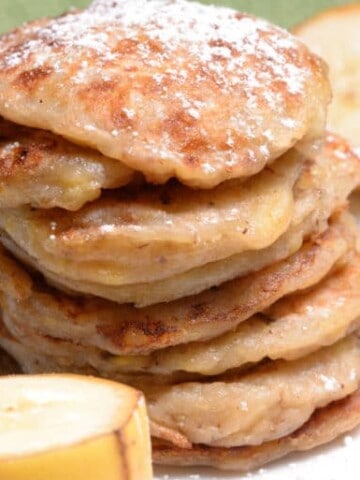
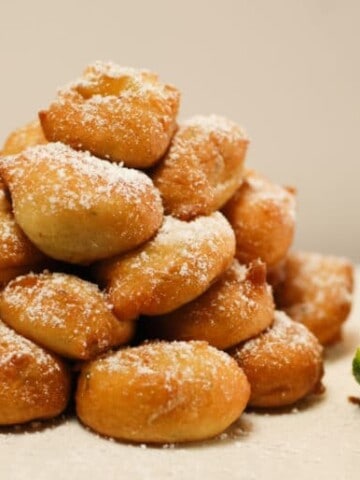
Djibouti Banana Fritters
-
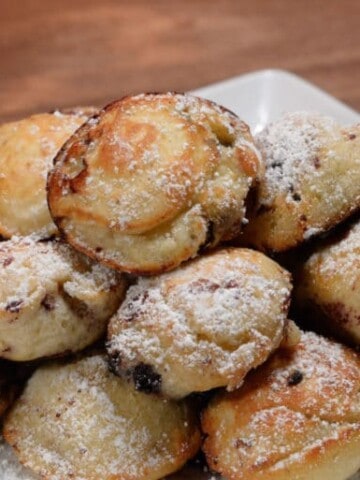
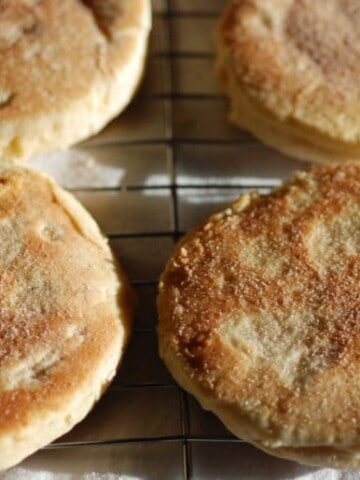
Ӕbleskivers (Danish Pancakes)
-
Czech Republic Palačinky
-
Cyprus Halloumi with Watermelon
-
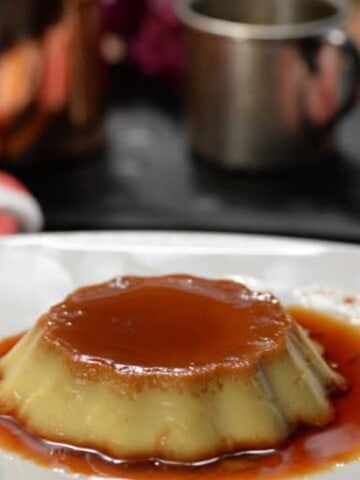
Croatia Rožata (caramel crème flan)
-
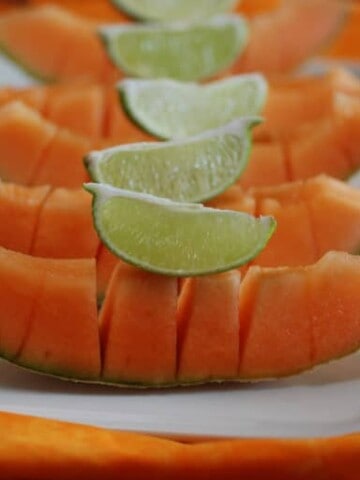
Cote D' Ivoire Melon Fingers
-
Costa Rica Tres Leches
-
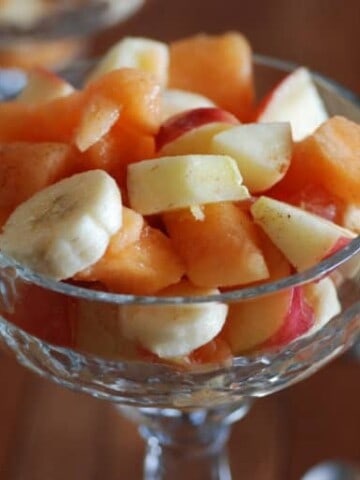
Comoros Fruits frais a la cannelle (Fresh Fruit with cinnamon)
-
Colombian Sopa de Fresca (Strawberry Soup)
-
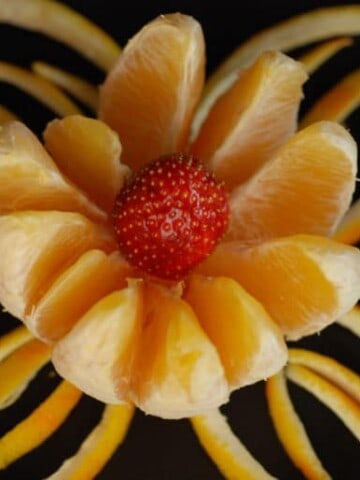
China – Orange jú zi 橙
-
Chile Sopaipillas (A Chilean Doughnut)
-
Chad – Jus de Fruit (Fruit drink)
-
Beignets de Bananes (Banana fritters)
-
Cape Verde Gufong (Fried Pastry)
-
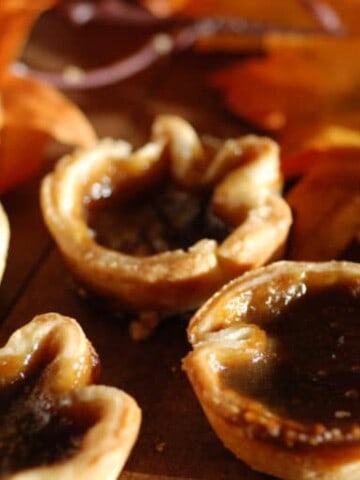
Canadian Butter Tarts
-
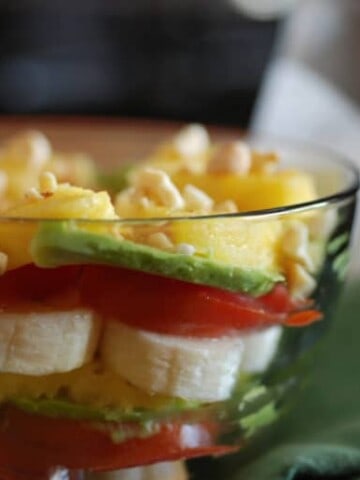
Cameroon Banana and Pineapple Layers
-
Banfora (Fried Pastry with Pineapple)
-
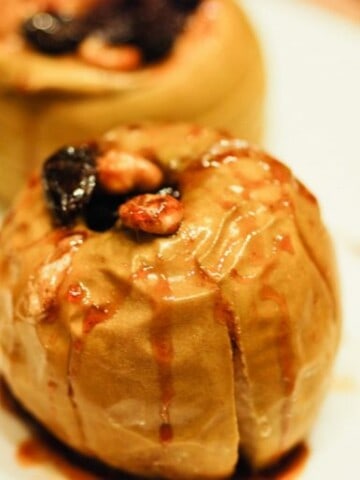
Pecheni yabalkis med I orehi (Bulgarian - Honey Walnut Baked Apples)
-
Mangoes with Sticky Rice
-
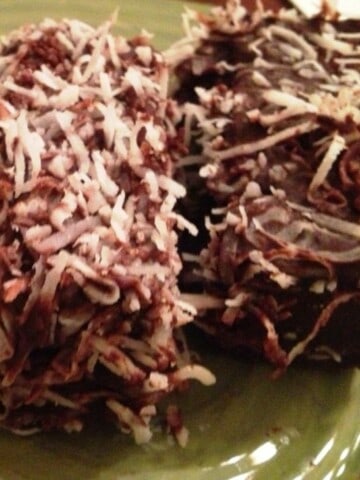
Brazil- Brigadiero (Chocolate Treats)
-
Botswana- Malva Pudding
-
Tufahija-Poached Apples
-
Helado de Canela (Cinnamon Sorbet)
-
Bhutan Dessert - Simply Watermelon
-
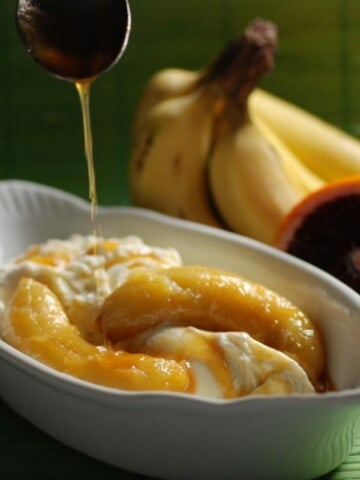
Bananas in Orange Sauce
-
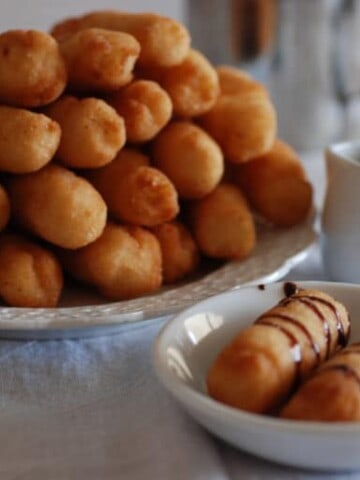
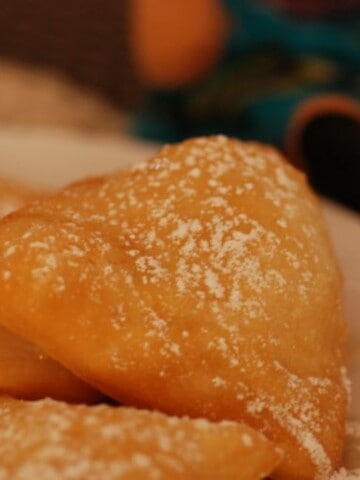
Belize- Fry Jacks
-
Dame Blanche - Belgian Hot Fudge Sundae
-
Belarus Fresh Strawberries Sviežaja klubnicy
-
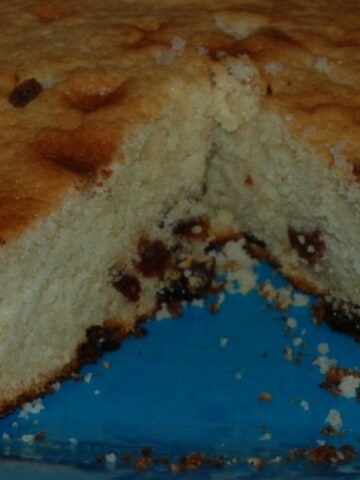
Bajan Pudding (Plain cake with cherries)
-
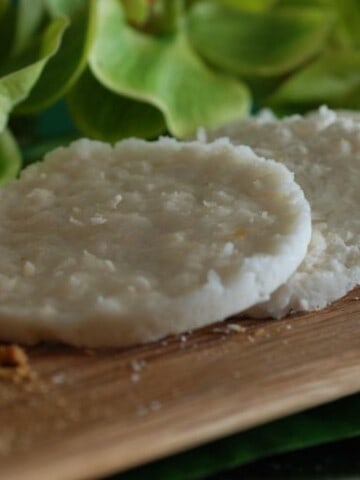
Bhapa Pitha (A Sweet Rice Cake Dessert)
-
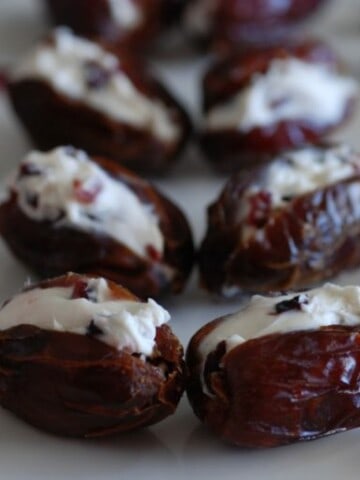
Bahrain Stuffed Dates
-
Banana Cream Pie
-
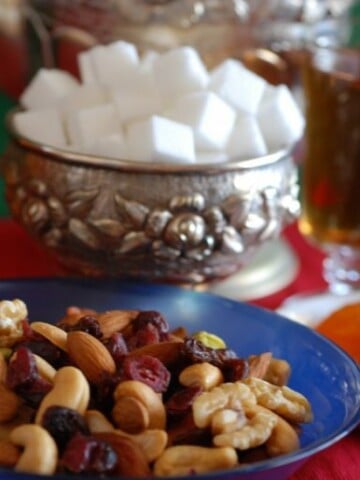
Dried fruits and nuts served with Chay -Black Tea
-
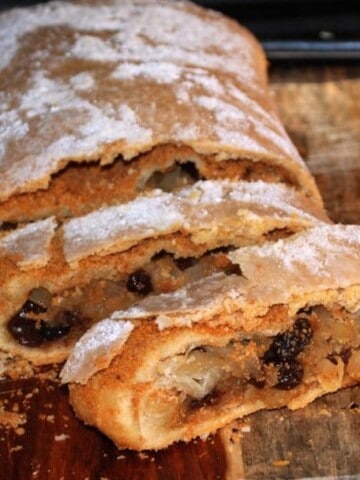
Altwiener Apfelstrudel (Viennese Apple Strudel)
-
Lamingtons
-
Nazook (Puff Pastry with walnut filling)
-
Alfajores with Dulce de Leche (Cookies with Dulce de Leche filling)