International Cuisine
Home
About Me
Privacy Policy
Journey by Country
Recipes
Travel
My Cookbook
Exploring the World Through Food
menu icon
Home
About Me
Privacy Policy
Journey by Country
Recipes
Travel
My Cookbook
Exploring the World Through Food
Connect with us
Instagram
Pinterest
search icon
Home
About Me
Privacy Policy
Journey by Country
Recipes
Travel
My Cookbook
Exploring the World Through Food
Connect with us
Instagram
Pinterest
×
Home
Portugal
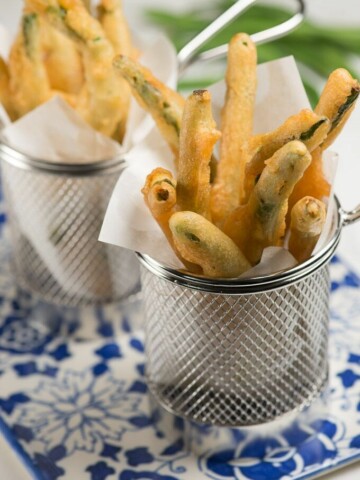
Fried Green Beans (Peixinhos da horta)
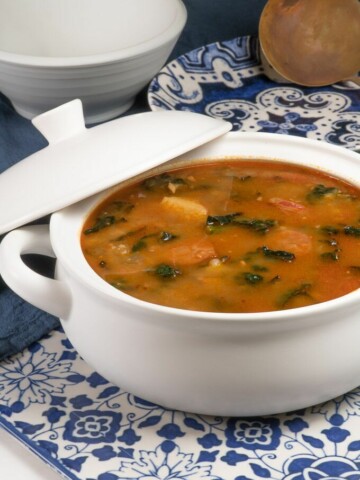
Caldo Verde (Portuguese Kale Soup)
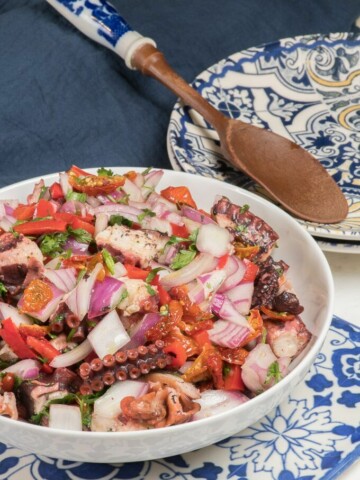
Portuguese Octopus Salad (Salada de Polvo)
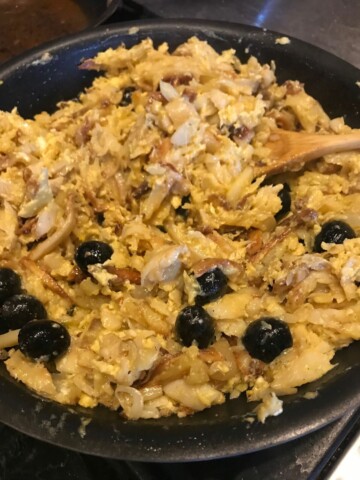
Salted Cod with Eggs (Bacalhau a Bras)
Pasteis de Nata (Portuguese Custard Tarts)