International Cuisine
Home
About Me
Privacy Policy
Journey by Country
Recipes
Travel
My Cookbook
Exploring the World Through Food
menu icon
Home
About Me
Privacy Policy
Journey by Country
Recipes
Travel
My Cookbook
Exploring the World Through Food
Connect with us
Instagram
Pinterest
search icon
Home
About Me
Privacy Policy
Journey by Country
Recipes
Travel
My Cookbook
Exploring the World Through Food
Connect with us
Instagram
Pinterest
×
Home
Russia
Russian Blinis with Sour Cream. Caviar and Salmon
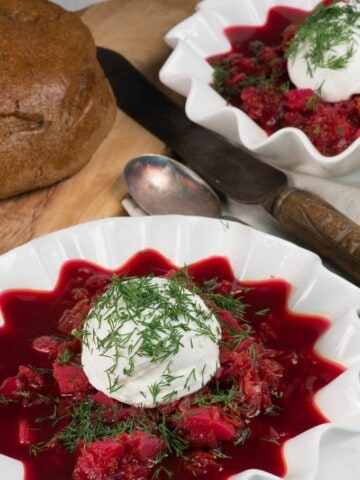
Russian Borscht (Beetroot Soup)
Russian Black Bread
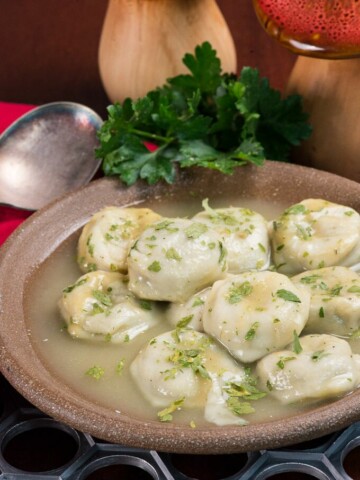
Russian Mushroom Pelmeni
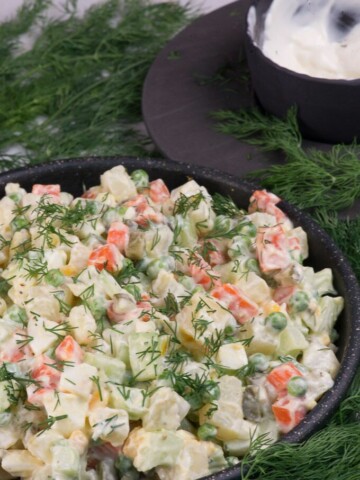
Russian Potato Salad (Olivier Salad)
Russian Honey Cake (Medovik)